Don't Miss Out on Our Limited-time Offer

Up to 50% Off

Hot
New
Out stock

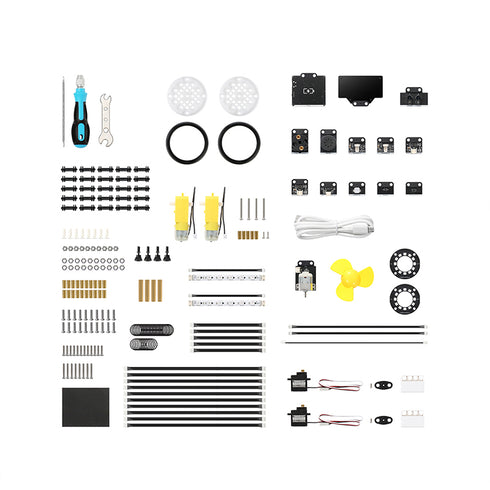
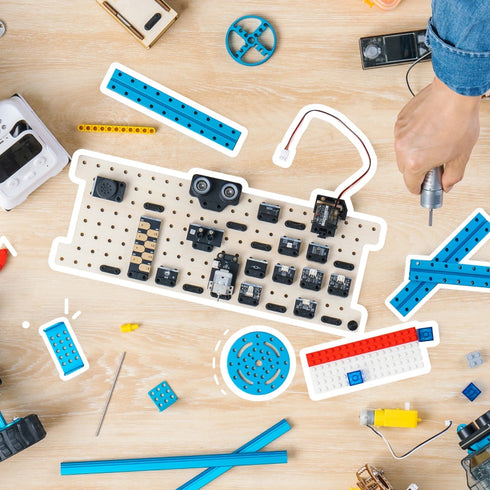
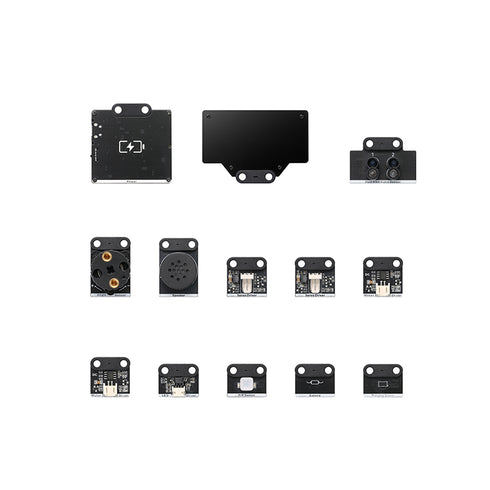
Makeblock mBuild modules for mBot2 & CyberPi

$119.99$219.99

- $100.00

Earn up to 10% cash back. Join Now.
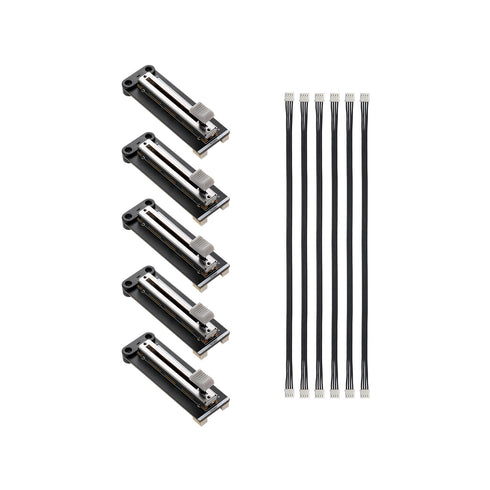
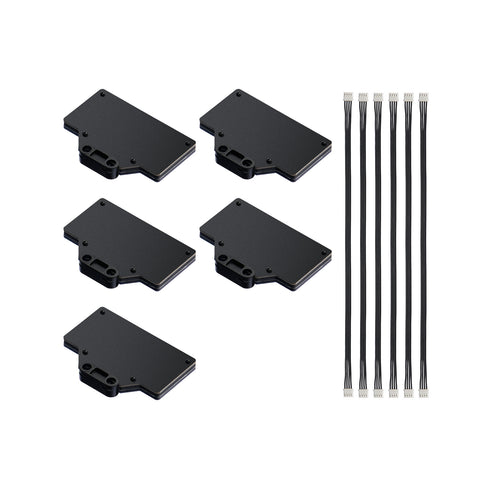
Science Sensor (5pcs)
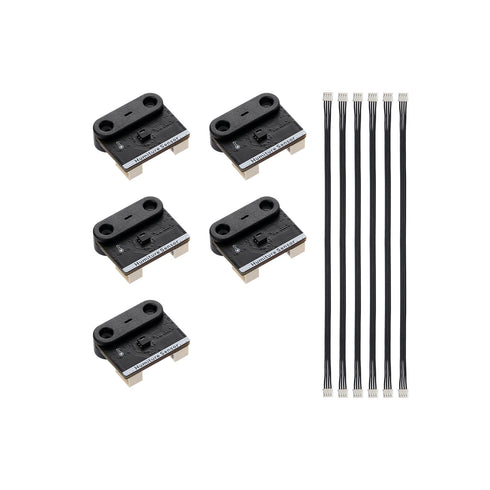
Humidity Sensor (5pcs)
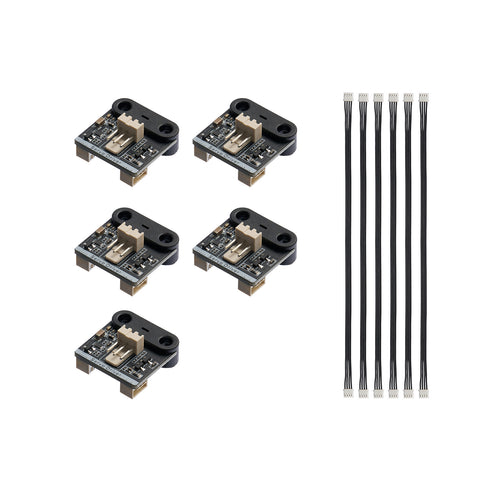
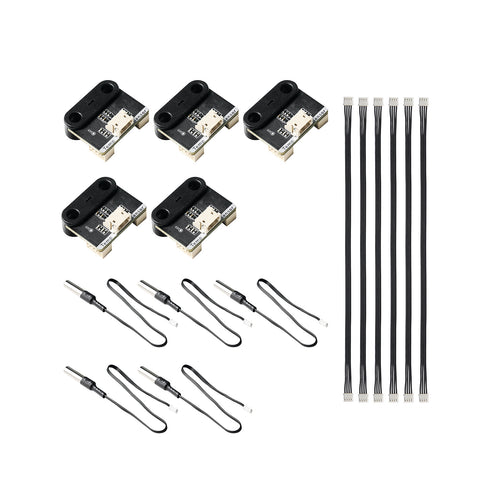
Temperature Sensor (5pcs)
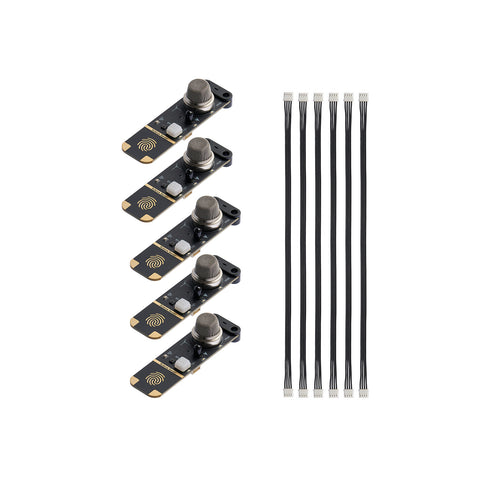
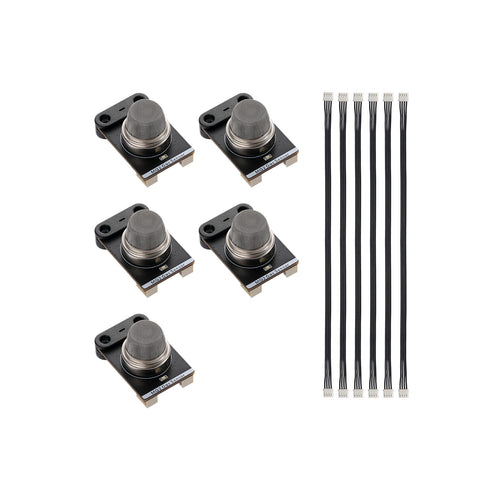
MQ2 Gas Sensor (5pcs)
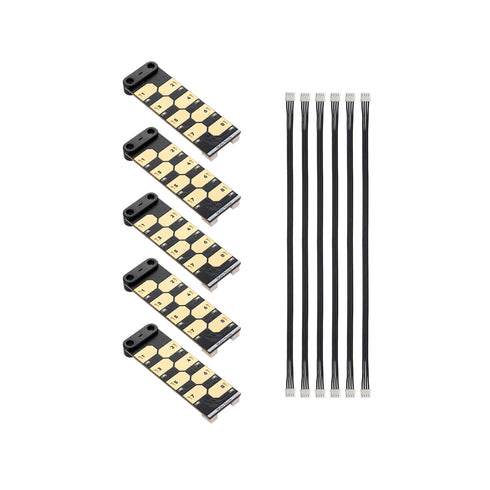
Multi-touch Sensor (5pcs)
Icon/Attributes/Free shipping Buy with Prime for a Faster Delivery
Safe & Secure Checkout
Pay Image
Pay Image
Pay Image
Ship in 2 Business Days with Trusted Delivery
We are currently only able to deliver products to the contiguous United States.
If you want to purchase products and deliver outside of the US, we will forward your request to our local distributors to serve you.  Please leave your details.
Makeblock mBuild modules for mBot2 & CyberPi

Makeblock mBuild modules for mBot2 & CyberPi

$119.99 $219.99

- $100.00

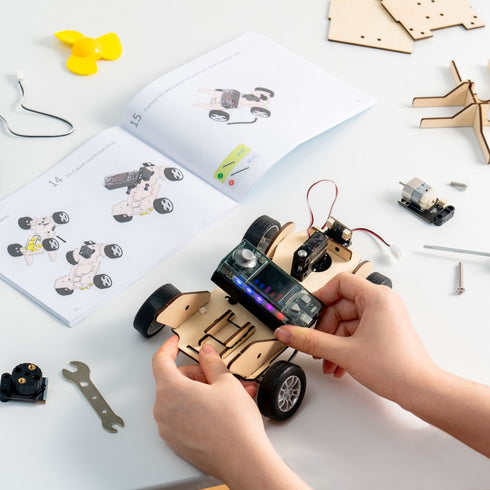
Hands-On Learning with Robotics Projects

Empowering Makers with Technology

· Low Threshold, High Ceiling
· Structured for Success
· Real-world Applications

Makespace Projects for Any Subjects

DIY Electronics

STEM Robotics

Color Mixing Experiments.jpg__PID:a34de67a-2b4f-4666-9b15-2c41228af6f6

Color Mixing Experiment

@Patrice Wogan

Hover to view >

Conveyer Belt in Process.jpg__PID:f12ca34d-e67a-4b4f-8666-1b152c41228a

Conveyer Belt in Process

@eskisehirkodlamaker

Hover to view >

Mechanical Butterfly.jpg__PID:a8e96ebd-cf8b-445c-99c7-822ae626b5b8

Mechanical Butterfly

@abeerzumar

Hover to view >

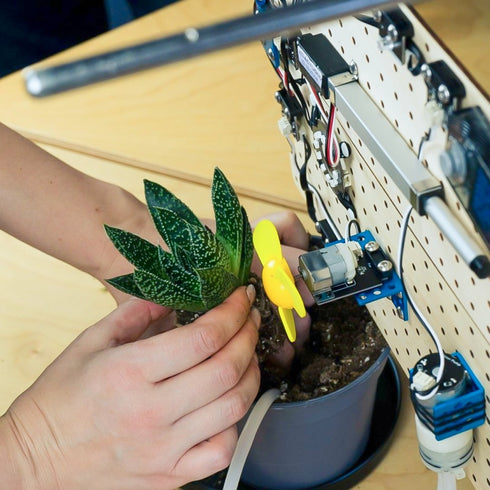
Mini Smart Farm.jpg__PID:5d94039b-32b5-4b13-8c14-a85435a3ba55

Mini Smart Farm

@Khaninnat Sangsiri

Hover to view >

$139.00

Sea Turtle Hero.jpg__PID:32b54b13-8c14-4854-b5a3-ba551ced62cc

Mini Smart Farm

@Khaninnat Sangsiri

Smart Rubbish Bin.jpg__PID:039b32b5-4b13-4c14-a854-35a3ba551ced

Mini Smart Farm

@Khaninnat Sangsiri

Hover to View >

Start with mBot2

Well-Selected Components for All-rounded Maker Skills

CyberPi

CyberPi is a main control board developed independently by Makeblock. With the compact structure and built-in ports, it can be easily extended.

Learn more about CyberPi > 
CyberPi.jpg__PID:d47301dc-9784-427c-a1e4-b01ae4e42534
CyberPi 场景图.jpg__PID:e7f78e32-7206-446a-9b00-61f27961e212

mBot2 Shield

mBot2 Shield is equipped with a built-in rechargeable lithium-ion battery that can supply power for CyberPi. With the multi-function, servo, and motor ports, it can drive motors, servos, and LED strips.

Learn more about mBot2 Shield >  
mBot2 Shield.jpg__PID:01dc9784-027c-41e4-b01a-e4e42534c66b
mBot2 Shield 场景图.jpg__PID:d317cd0c-9642-4af6-92a5-69672bcc3ee0

mBuild Modules

Small in size but highly intelligent in functions. mBuild modules are compatible with almost all mainstream open-source hardware and are easy to use.

Learn more about mBuild > 
mBuild Modules.jpg__PID:9784027c-a1e4-401a-a4e4-2534c66b92c8
mBuild Modules 场景图.jpg__PID:7206a46a-db00-41f2-b961-e21288f09a2e

Mechanical Parts

Durable building parts including chassis, wheels, axles and gears, and connectors. These parts can be further combined with laser-fabricated wooden chassis to create a personalized robot!

Learn more about mBot2 > 
Mechanical Parts.jpg__PID:027ca1e4-b01a-44e4-a534-c66b92c86a80
Mechanical Parts 场景图.jpg__PID:8e327206-a46a-4b00-a1f2-7961e21288f0

Programming Software

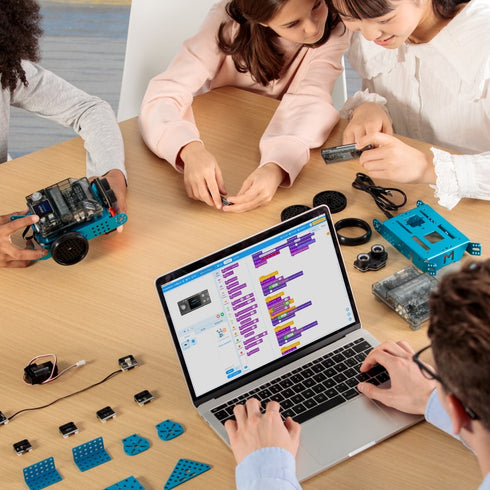
mBlock5 is a powerful yet user-friendly visual programming software. With its drag-and-drop interface, you can easily create complex programs without writing a single line of code.

Learn more about mBlock 5 > 
Programming Software.jpg__PID:54eecf65-c688-4b72-8c82-e67f826111fd
Programming Software 场景图.jpg__PID:590dbca4-d00b-47f0-92d0-a4bf5be0f5fd
Windows.svg__PID:afcb15df-f12d-4836-817a-f39d9f77e40aWindows.svg__PID:832dd9e1-59fe-4c8e-8914-e74f3e7fdcb9

Windows

Mac.svg__PID:d84846c1-c3c8-456b-88e3-5d59c427a265Mac.svg__PID:3b1276d4-44d7-4283-add9-e159fe9c8ec9

Mac

Linux.svg__PID:33409ad0-46b2-4fcb-95df-f12d4836017aLinux.svg__PID:d8313b12-76d4-44d7-9283-2dd9e159fe9c

Linux

iOS.svg__PID:50903340-9ad0-46b2-afcb-15dff12d4836iOS.svg__PID:56aea498-1f94-4831-bb12-76d444d75283

iOS

Android.svg__PID:c55f4ef4-5090-4340-9ad0-46b2afcb15dfAndroid.svg__PID:fc81a976-6bf9-46ae-a498-1f94d8313b12

Android

Block-based programming.svg__PID:4ef45090-3340-4ad0-86b2-afcb15dff12dBlock-based programming.svg__PID:a9766bf9-56ae-4498-9f94-d8313b1276d4

Block-based programming

Python.svg__PID:85b19879-2539-4631-8afe-010cbef4002aPython.svg__PID:e93ab600-aeea-4322-9c96-4ea578ac9688

Python

3D printers3D printers.svg__PID:6bf956ae-a498-4f94-9831-3b1276d444d7

3D printer

Laser cuttersLaser cutters.svg__PID:a4981f94-d831-4b12-b6d4-44d752832dd9

Laser cutters

LEGO blocks.svg__PID:9ad046b2-afcb-45df-b12d-4836017af39dLEGO blocks.svg__PID:1f94d831-3b12-46d4-84d7-52832dd9e159

LEGO blocks

Why mBot2?

Low Threshold, high Ceiling

mBot2 is the easiest starting point for individuals or groups to design, build, and program their own robots, and the most efficient way to master the skills of a maker.

Frame 1329130165.jpg__PID:f059decc-e885-4e5f-978e-0f0a0ca457c5

A World of Possibilities

The components of mBot2 can be combined with the mBuild module for more complex projects, a flexible hands-on learning space that supports everything they do.

A World of Possibilities.jpg__PID:08ec8252-55eb-4395-9fd3-95fed9747509

Structured for Success

mBot2 supports project ideas from easy to advanced, providing a structured learning environment that fosters creativity and problem-solving skills.

Structured for Success.jpg__PID:dc0214c3-d3f0-424f-b593-16e92b53f861

Real-world Applications

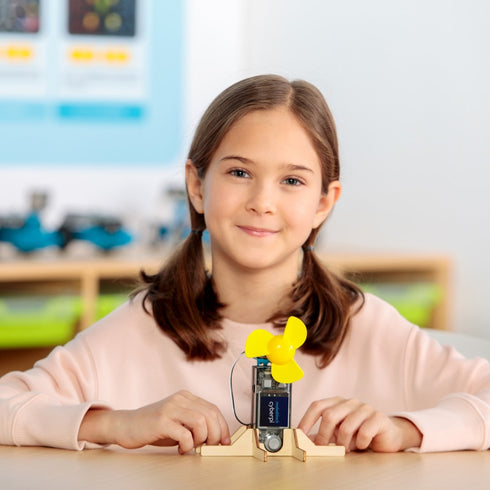
The same reusable kit can be further used to build a fan, a smart rubbish bin, and an autonomous rover.

Real-world Applications.jpg__PID:63955fd3-95fe-4974-b509-88aceada9909

Perfect match for PreK-12 maker space resource

New parts can be made for the mBot2 using 3D printers, laser cutters, and LEGO blocks!

Perfect match for PreK-12 maker space resource.jpg__PID:5fd395fe-d974-4509-88ac-eada99097e43

Quick and Easy Prototyping

Connect, Program, Create!

Sensors can be used in just 3 simple steps!

Connect, program, create!.jpg__PID:55eb6395-5fd3-45fe-9974-750988aceada

Breadboard-free

Connect modules directly to the main board, supporting up to 10 sensors in series.

Breadboard-free.jpg__PID:825255eb-6395-4fd3-95fe-d974750988ac

Simple yet Stunning

Our block-based programming interface makes coding a breeze, even for beginners. Create impressive projects with ease.

Frame 1329130166.jpg__PID:c5caa575-08f2-490a-94b1-7db876ee441e

Powerful Networking

Connect your creations to the internet or other devices using various network protocols.

Frame 1329130156.jpg__PID:ace92f0e-dc13-4b70-8acb-52a34cdf4852

Seamless Integration

Easily integrate with third-party platforms and services to expand your project's capabilities.

Seamless integration.jpg__PID:8f65306f-54d7-4449-b33d-81fdcd5c1204

With Digital Fabrication tools,
Your Imagination is the Limit

mBot2 can be further disassembled into mainboards and modules,
combining seamlessly with the parts made from laser cutters or 3D printers.

3D printers.jpg__PID:548d8659-54d5-4dc9-8bb8-e1ca83a6ac753d printer (1).jpg__PID:83ebb592-535f-4557-9ef4-54695b8b95e5
Laser cutters.jpg__PID:865954d5-7dc9-4bb8-a1ca-83a6ac75cedcLaser cutters.jpg__PID:bdcddf96-582b-43e8-a6fb-e5167be65267

Supporting you from the first moment

Slice 8.jpg__PID:d914dd25-da57-4d6e-98b0-ab9ff862790c

STEAM
Class Center

STEAM Class Center

Learn more >
Slice 10.jpg__PID:dd25da57-5d6e-48b0-ab9f-f862790cf077

Project
Ideas

Project Ideas

Learn more >
Slice 9.jpg__PID:14dd25da-575d-4ed8-b0ab-9ff862790cf0

Sample
Coding Tutorials

Sample Coding Tutorials

Learn more >

Pick the right kit to get started

mBot2 Coding Kit.png__PID:bd14a999-f213-4347-8ba4-54c1e3c76aa5

mBot2 Coding Kit

$199.99
CyberPi Project-based Kit.png__PID:e3372cde-bd14-4999-b213-e347cba454c1

CyberPi Project-based Coding Kit

$139.99
$139.99
CyberPi Go Kit.png__PID:d2e3372c-debd-44a9-99f2-13e347cba454

CyberPi Go Kit + Innovation Add-on Pack

$149.99
$159.99

Introduction

mBot2 Coding Kit contains everything to build a programmable robot from scratch. This robot has advanced robotics features such as line chasing, obstacle avoidance, etc. As well as AI-programmable features such as image recognition.

CyberPi Project-based Kit contains a CyberPi mainboard, a Pocket Shield, and well-combined wooden building parts and mBuild modules to make 3 projects: an Oscillating Fan, an Auto-Driving Car, and a Smart Trash Bin.

The CyberPi Go kit consists of a CyberPi mainboard and a Pocket Shield. Combined with mBuild modules from the Innovative Add-on Pack and structural parts made from cardboard, wooden boards, or 3D printers, it can be used to create a range of smart projects.

Main Board

CyberPi

CyberPi

CyberPi

Extension Board

mBot2 Shield

Pocket Shield

Pocket Shield

mBuild Modules

Quad RGB Sensor *1
Ultrasonic Sensor 2 *1
Encoder motor *1

Quad RGB Sensor *1
Multi-touch *1
Angle Sensor *1
Ranging Sensor *1

Ultrasonic Sensor *1
Multi-touch *1
Slider *1

Building Parts

Aluminum Chassis *1

Wooden Building Parts Pack *1 
Cardboard Building Part *1
 Aluminum Building Parts Pack *1

/

Accessories

180 Optical Encoder Motor *1
Wheel hub *1
Slick tyre *1
Mini wheel *1

LED Strip *1
Fan *1
TT Dual-Shaft Motor *1
9g Micro Servo (Metal Gear) *1

MS-1.5A Servo *1
TT Dual-Shaft Motor *1
 LED Strip *1

Pack and Go

Engage the entire class_pc (1).jpg__PID:8a9d5056-e368-4ae0-87bb-29996a833e14

New Release

Engage the Entire Class!

Incorporate maker education theory into your program with the mBot2 Education Kit. It includes 6 mBot2 and storage, charging, and activity accessories to provide everything you need to teach in your makerspace. [text TBD, will be related to the upcoming event]

Engage the entire class_pc (1).jpg__PID:8a9d5056-e368-4ae0-87bb-29996a833e14

mBot2 Meets Laser Cutter

Laser cutters are typically used for rapid prototyping of designs in makerspaces. Using mBot2's mainboard and accompanying mBuild sensors, easily combine Internet of Thing (IoT) into prototypes for a spot-on creative display. In this project, mBot2 is transformed into a smart box that can do a series of amazing tasks!

Step 1

Use a laser cutter to create parts for the box.

Step 1.jpg__PID:ca907340-8b5c-48d8-a52a-dcebb1c3c0d9

Step 1

Use a Laser Cutter to create parts for the box.

Step 2

Disamble mBot2 into a mainboard and a sereis of mBuild modules.

Step 2

Disamble mBot2 into a mainboard and a sereis of mBuild modules.

Step 2.jpg__PID:9073408b-5cc8-4825-aadc-ebb1c3c0d9ed

Step 3

Put them together! Make sure the wooden parts are positioned so that the sensors work can correctly.

Step 3.jpg__PID:73408b5c-c8d8-452a-9ceb-b1c3c0d9ed87

Step 3

Put them together! Make sure the wooden parts are positioned so that the sensors work can correctly.

Step 4

Final tune up and preparation for presentation.

Step 4

Final tune up and preparation for presentation.

Step 4.jpg__PID:408b5cc8-d825-4adc-abb1-c3c0d9ed873b

mBot2 Meets 3D Printer

3D printing is a game-changer for mBot2 enthusiasts. By creating custom parts, you can truly personalize your mBot2 and expand its capabilities beyond its original design. In this project, mBot2 is transformed into a gatekeeper that determines, through an automated process, whether another mBot2 needs to be let through.

Step 1

Use a 3D printer to create struts to hold a servo. Students will need to consider details such as wiring, fastening, and reasonable space to allow the parts of the servo that are attached to move.

Step 1.jpg__PID:27fbeb9c-ed42-49f8-834c-f7db1a72b55f

Step 1

Use a 3D printer to create struts to hold a servo. Students will need to consider details such as wiring, fastening, and reasonable space to allow the parts of the servo that are attached to move.

Step 2

Use cable to connect servos to the servo port of mBot2 Shield.

Step 2

Use cable to connect servos to the servo port of mBot2 Shield.

Step 2.jpg__PID:eb9ced42-f9f8-434c-b7db-1a72b55fc159

Step 3

Move the server by writing a program. When the program is successfully run, the corresponding text will be shown on the CyberPi's display.

Step 3.jpg__PID:9ced42f9-f803-4cf7-9b1a-72b55fc1595e

Step 3

Move the server by writing a program. When the program is successfully run, the corresponding text will be shown on the CyberPi's display.

Step 4

Test the whole program.

Step 4

Test the whole program.

Step 4.jpg__PID:ed42f9f8-034c-47db-9a72-b55fc1595e09